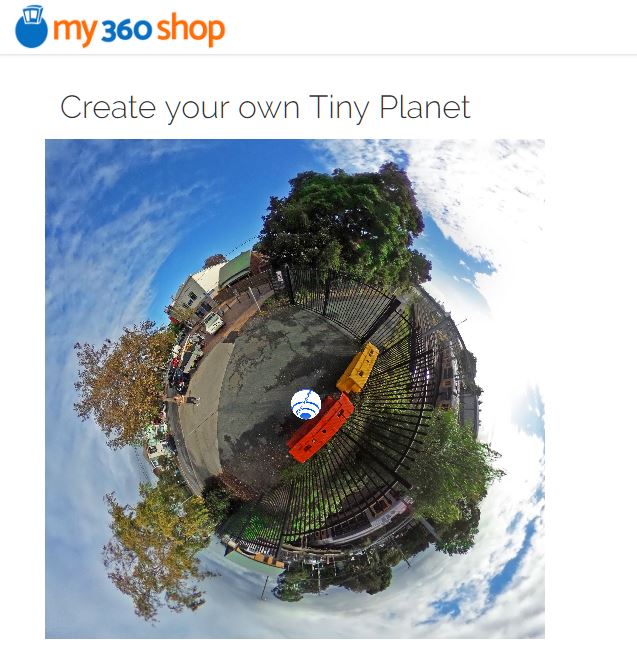
How to create your 360 gallery
Once you’ve signed up and set up your user profile, you’re all set to start selling 360° photos to your customers. Just follow these simple steps:
1) Agree on the subject, number of photos and the price for the entire gallery.
2) Take your 360 photos.
3) Log in and click Create in the drop-down menu.
4) On the Create a gallery page, drag and drop one or more of your 360 photos to the upload area inside the dashed lines. If you’re on a mobile device, just tap the upload area:
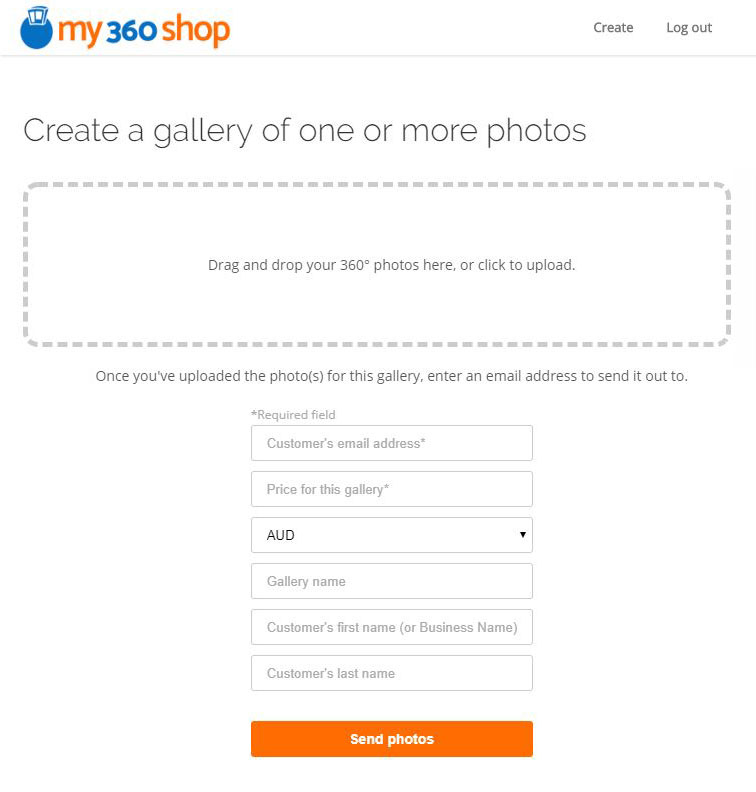
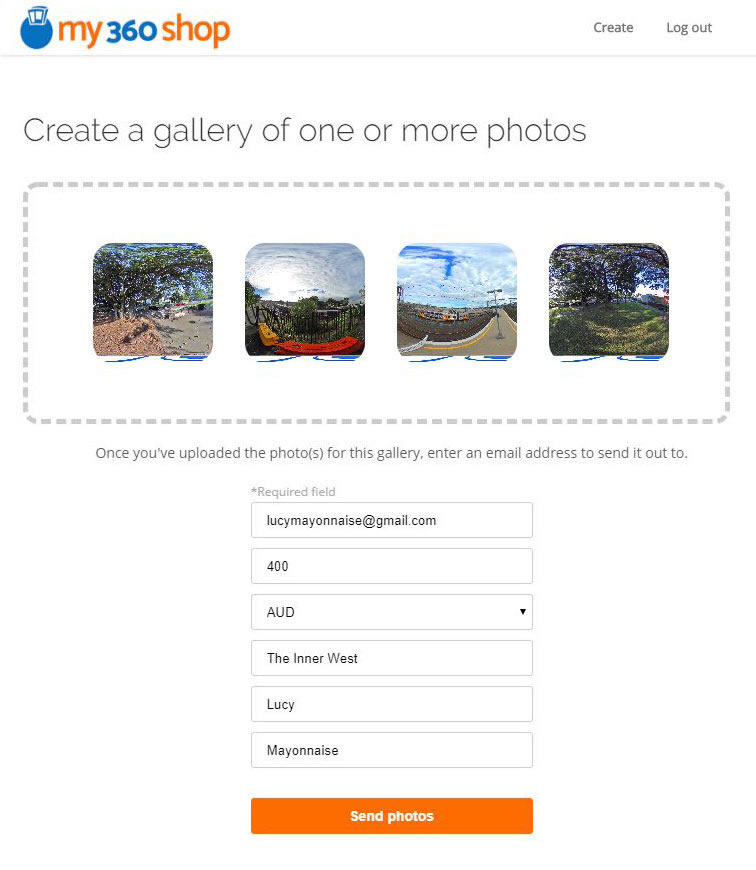
5) While the photos are uploading, fill out the form with the customer’s email address and the agreed price for the gallery. The currency will default to your chosen currency in your profile, but if you are working in different parts of the world, you can change this for each gallery.
Note for Australian sellers: You should sell in AUD. When the gallery currency is set to AUD, 10% GST will be automatically added to the price, so please make sure that your customer knows that GST will be added to the agreed price.
6) Enter a name for the gallery. This is optional. If you don’t put one in, the gallery name will default to the date you created it. Pretty cool, huh?
7) Enter the customer’s names. This will appear in the email they receive, but is optional as well. If it’s a business, put the business name in the Customer’s first name field.
8) Once you’ve finished uploading all of the photos in the gallery and filled out the customer details, you’re all set to send them the photos. Click the Send photos button:
9) You’ll then get a confirmation that the gallery email has been sent to the customer:
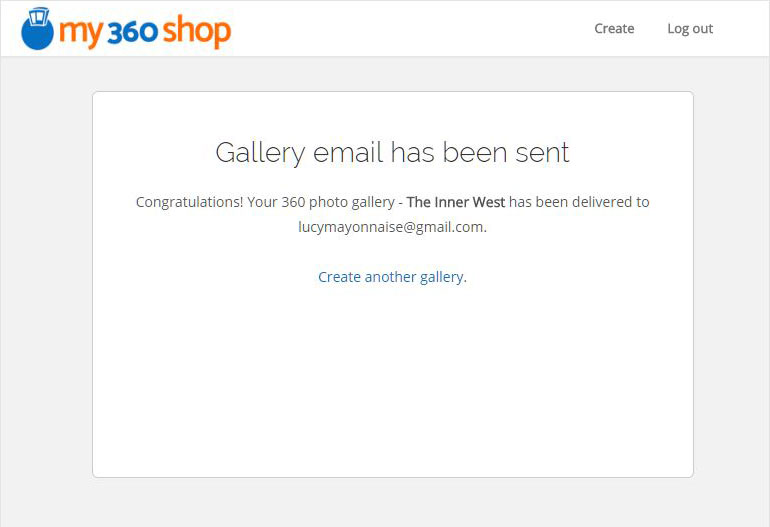
That’s it for your part. Now all you have to do is wait for the payment to arrive.
The customer will then receive an email like this:
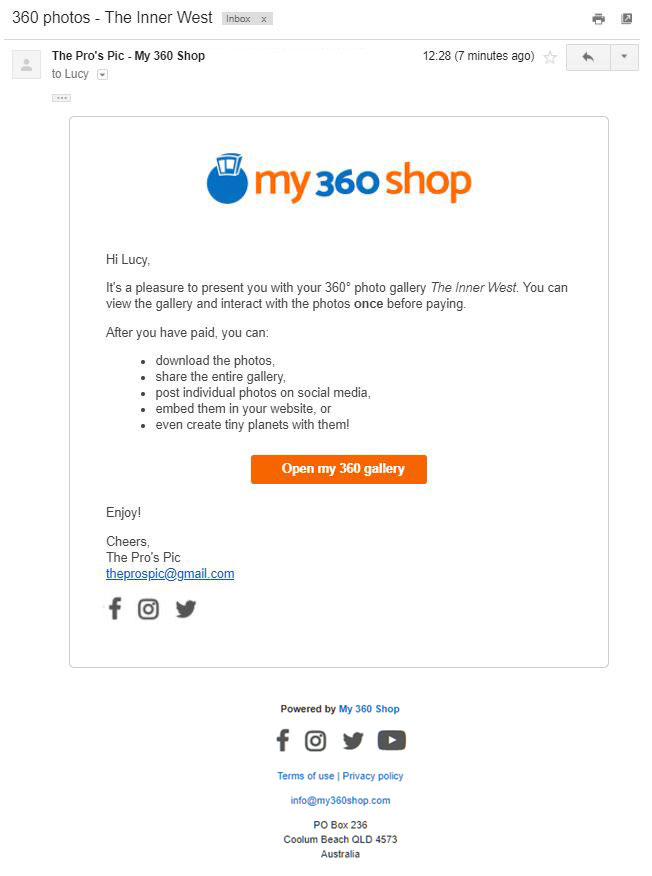
When they click the Open my 360 gallery button, they’ll be taken to the free preview of their gallery:
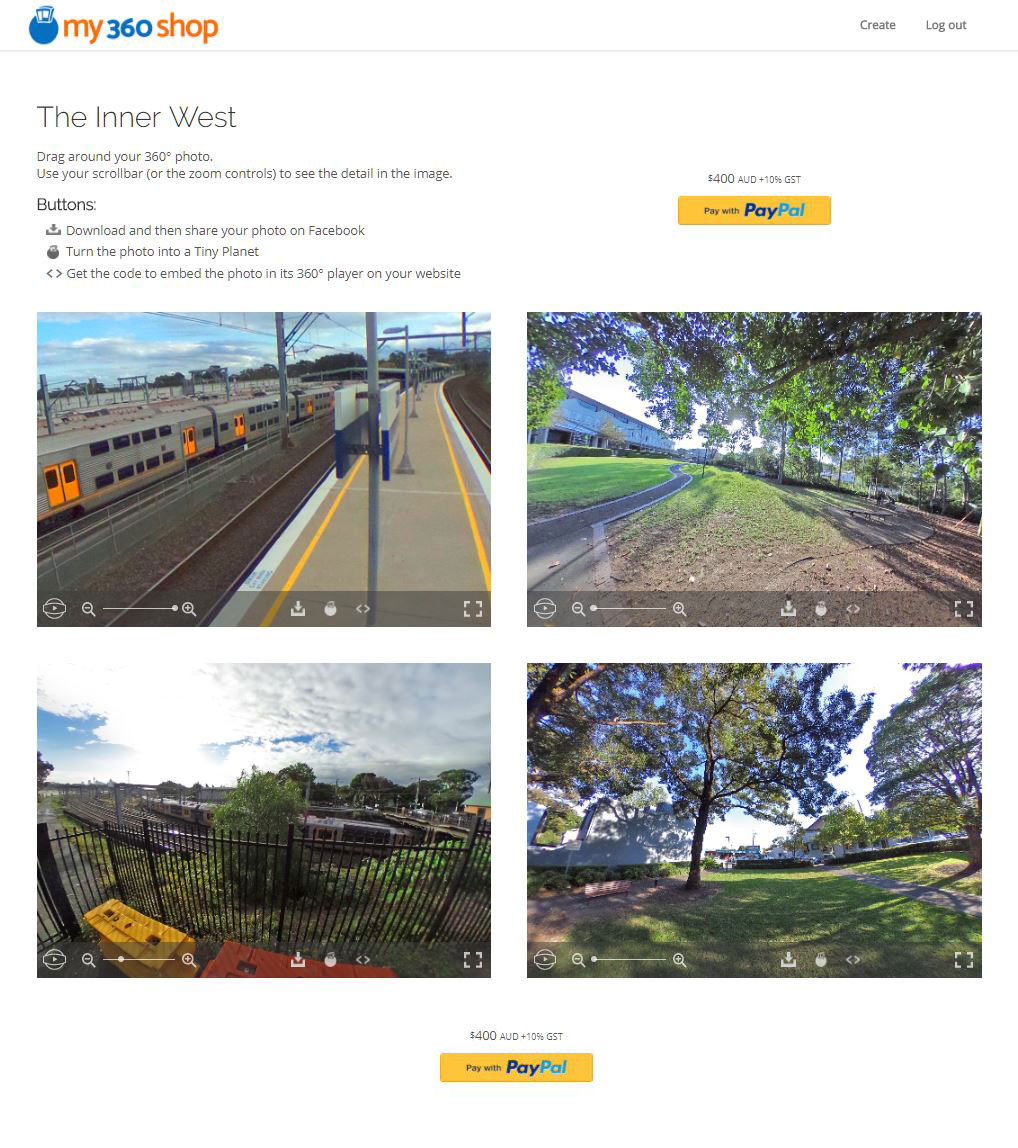
The preview can be opened once. They can interact with the 360 photos by:
- dragging to look around,
- zooming in and out,
- turning auto-rotate on and off, and
- entering and exiting fullscreen.
There are two Pay with PayPal buttons they can click to purchase the gallery – one at the top, and the other at the bottom of the gallery.
The download, embed and tiny planets features are only available after they have paid.
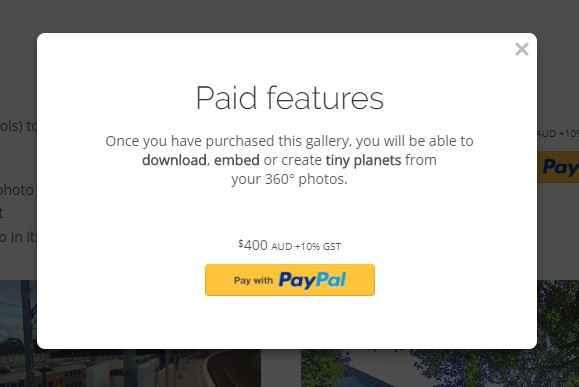
Clicking on these buttons ![]() will open a modal window which gives them another opportunity to pay:
will open a modal window which gives them another opportunity to pay:
When the customer clicks the Pay with PayPal or credit card button, they will be connected to PayPal where they’ll log in:
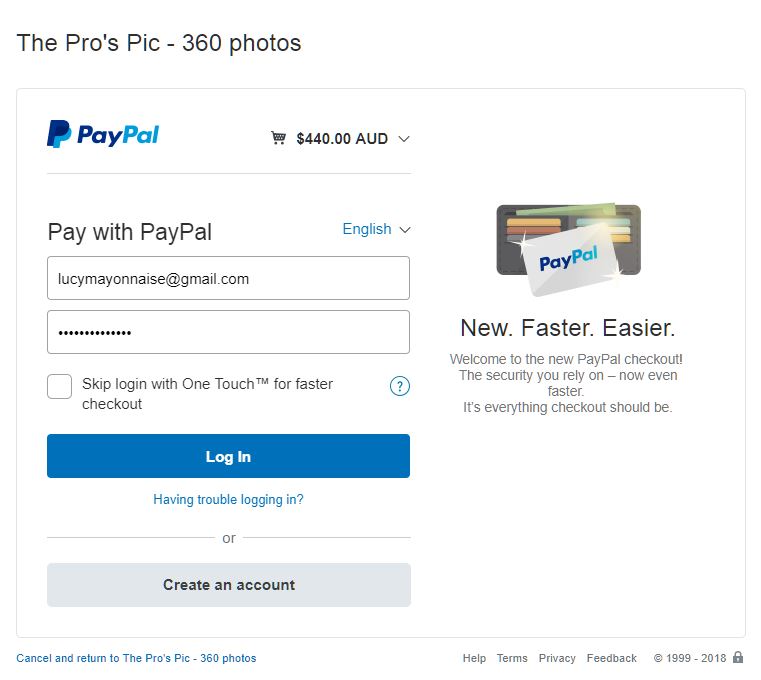
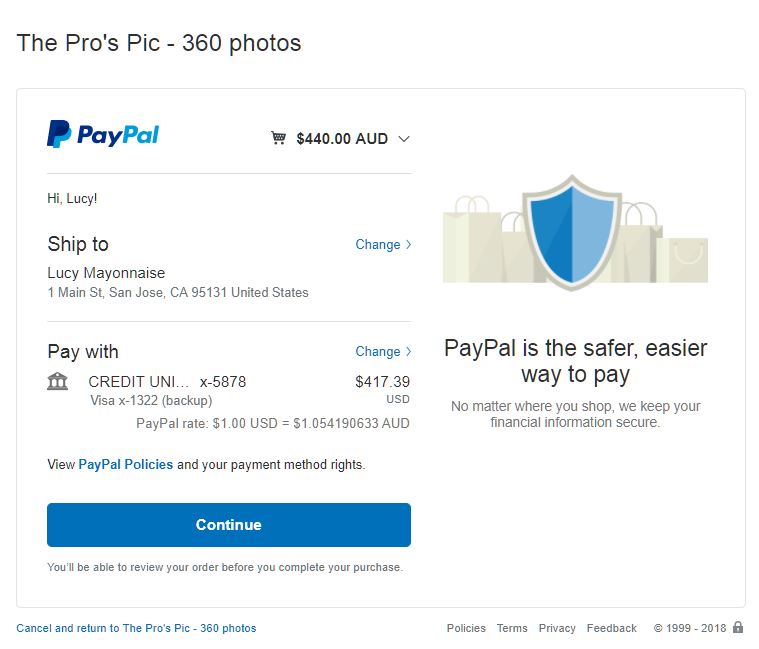
They can then pay by credit card or log in to their PayPal account where they’ll see the details of the gallery and authorize payment:
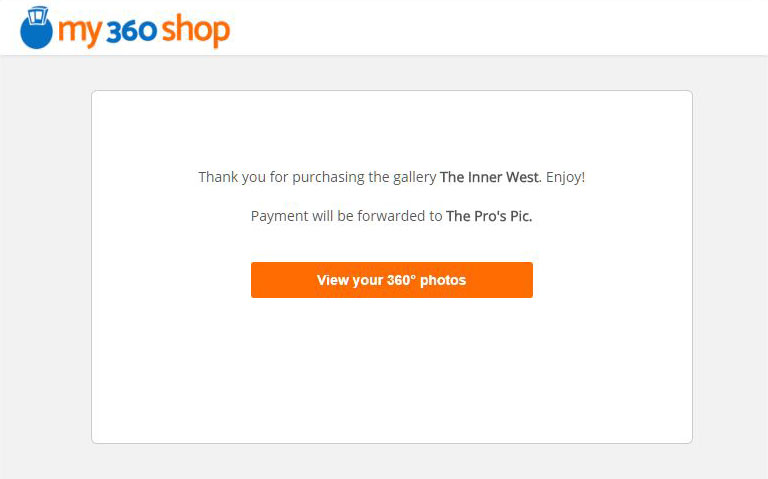
They’ll then be brought to a Thank You page on the My 360 Shop website, where they can click to view their gallery:
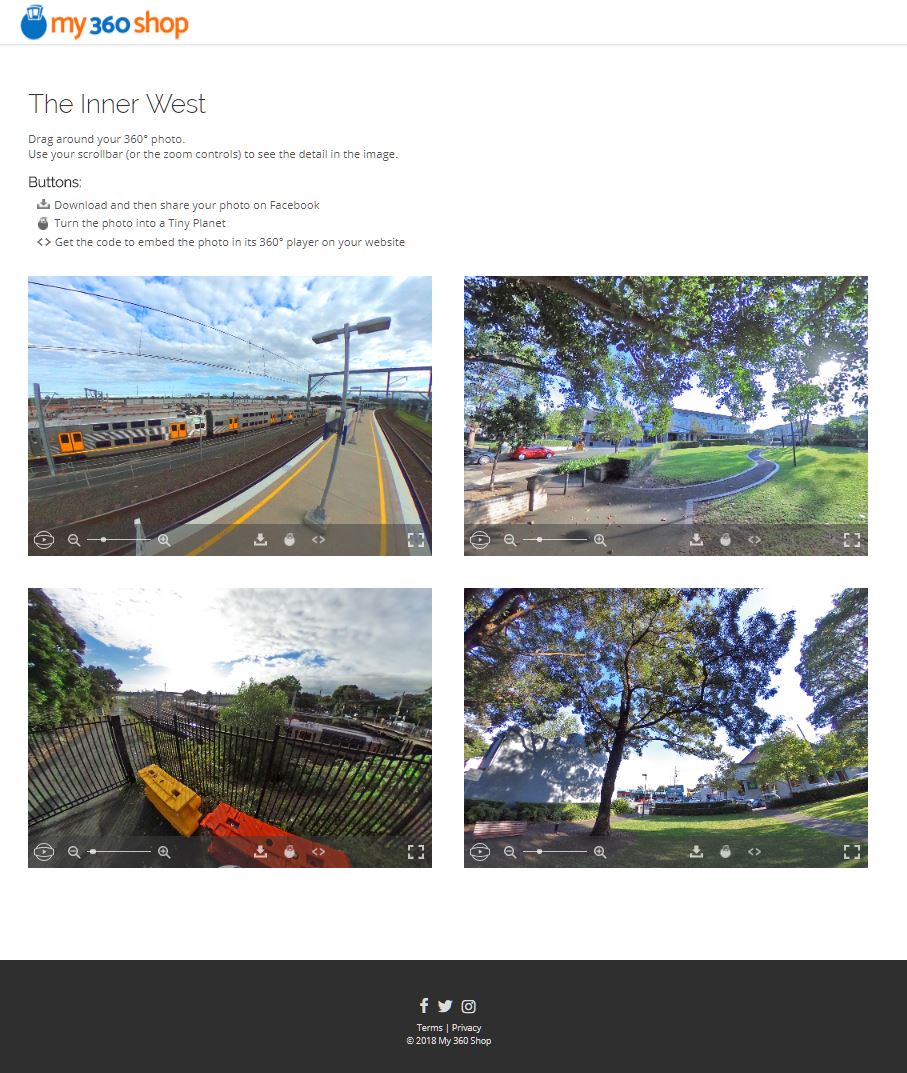
The paid version of the gallery will no longer have the payment buttons or the feature restrictions:
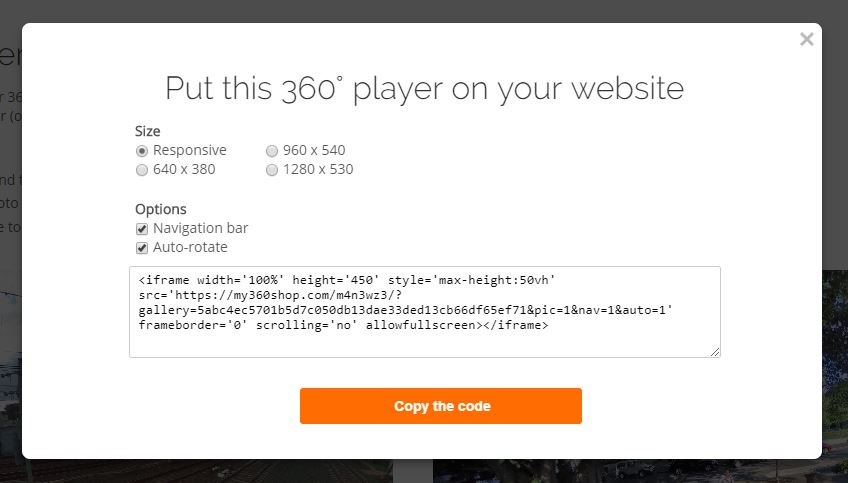
The customer will now be able to download the photos to share on Facebook as 360 photos (make sure that your photos have 360 EXIF data). They will also be able to embed a customized version of the 360 player/viewer on their website. All the code they need will be generated with a few clicks:
And finally, when they click the tiny planet icon, an informative modal will appear:
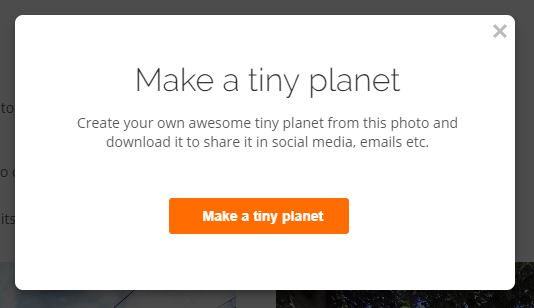
Clicking Make a tiny planet on that modal will take them to the Tiny Planet maker:
